Discover in this post the best Happy Easter garland DIY.
Spring is finally here with the sun shining on us again! As nature is waking up, it’s time to rejoice and celebrate the rebirth of the Earth.
To create a joyful and cheerful home in alignment with this season, I suggest decorating your home with some DIY.
By adding personal and seasonal touches to your small house, you will create an optimistic atmosphere in your home.
Garlands are really quick and easy DIY that will add such a cute and delicate feel to your home. So, let’s discover how to create a Happy Easter garland DIY!
This website contains affiliate links. This means that when you click on a product link and make a purchase within 24 hours, I earn a small commission at no extra cost for you. As an Amazon Associate, I earn commissions from your Amazon purchases when you click on my links. The money earned allows me to do what I love for a living. Thank you for your support!
How To Make A Happy Easter Garland DIY
Materials List
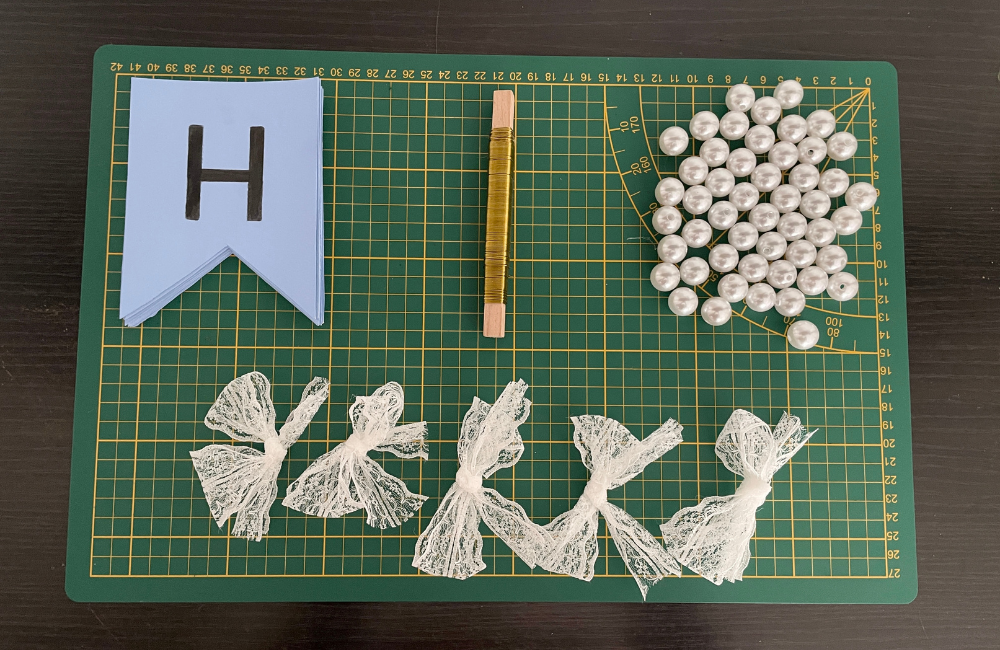
For this DIY, you will need:
- Paper;
- fake pearls;
- lace;
- string;
- and acrylic paint.
Where To Buy Materials For This DIY
Now, let’s realize our DIY, shall we?
Step 1: Select The Right Color Palette
Spring colors are the best for an Easter garland. So pastel and soft tones are your best friends. However, you can choose any colors you like for your Easter DIY.
Just make sure that these colors make you feel joyful and optimistic. After all, spring is all about the rebirth of life after a long winter. So, I strongly advise you to pick colors that make you feel good.
Also make sure that these tones fit your interior design style. A gothic Easter garland and a minimalist Easter garland are going to be completely different.
I picked light blue and white for my garland. But you can choose different pastel tones for your banners and letters! I think a rainbow of pastel colors would look so good!
Step 2: Create Your Banners
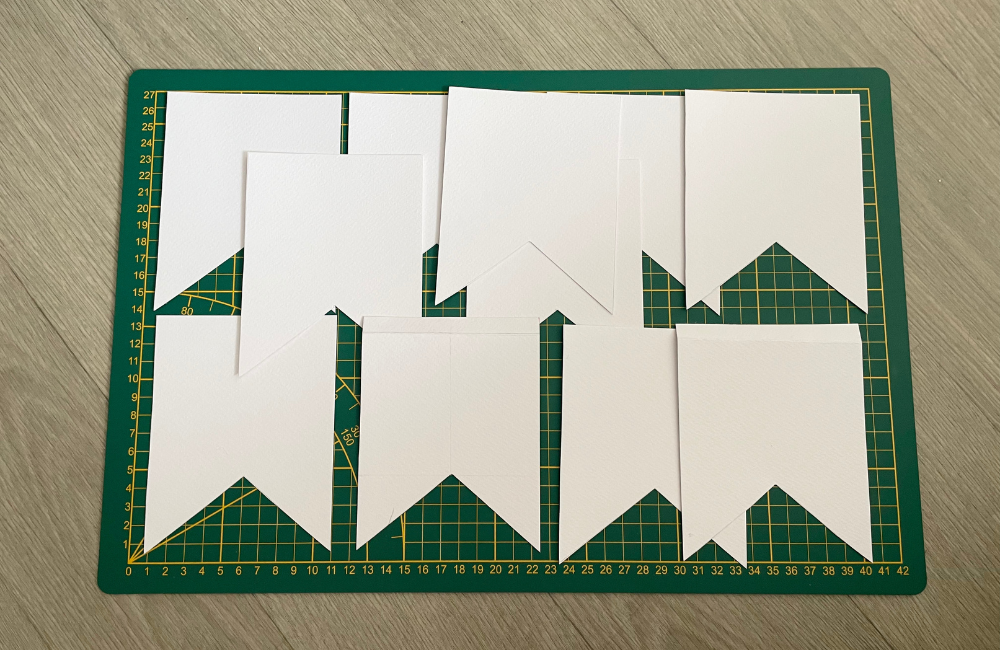

Now, let’s create your banners! I started by cutting a banner shape for each letter of “Happy Easter”.
I cut a 13 cm x 10 cm shape, which is approximately 5.1 inches x 3.9 inches. Leave 1 cm, which is approximately 0.39 inch at the top of each banner.
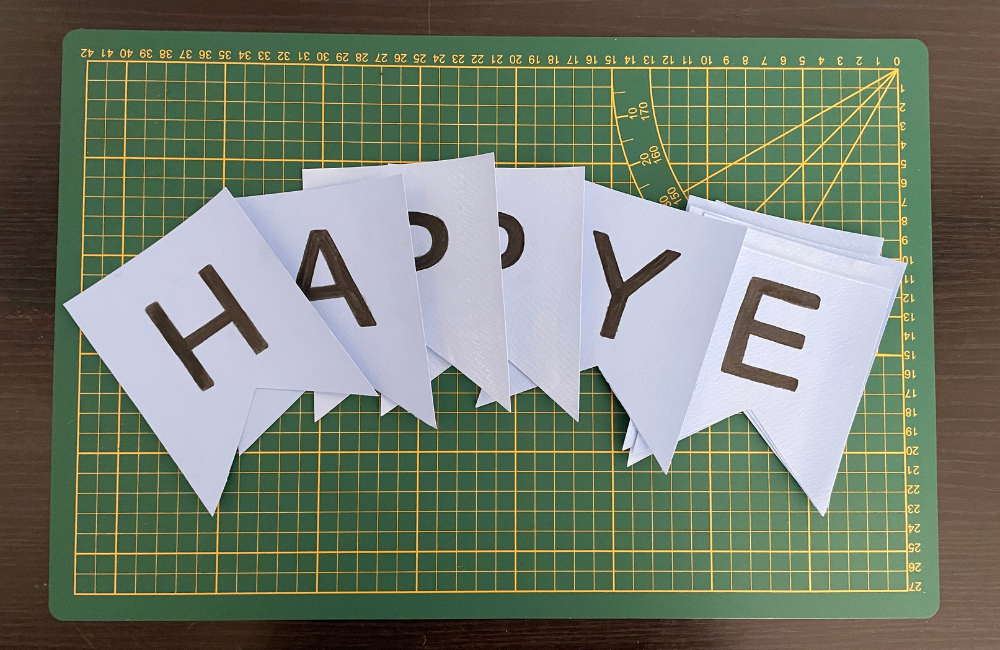
Then, I painted each of my banners a light blue color. Next, I printed each letter of “Happy Easter” on white paper and cut them.
I draw the outline of each letter on each banner with a pencil. Make sure that your letters look centered (don’t take into account the 0.39 inch you left).
Lastly, I painted each letter black. Have fun with the colors of your garland. I really think more pastel colors would have looked so good!
Step 3: Add Everything Together!
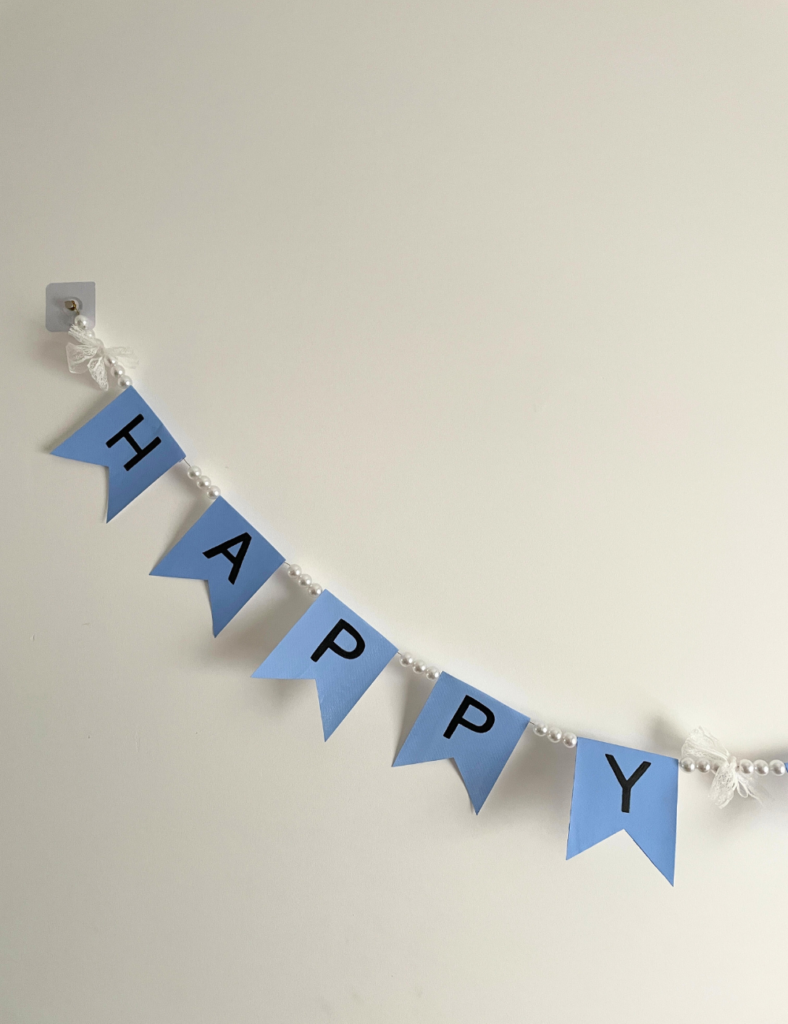
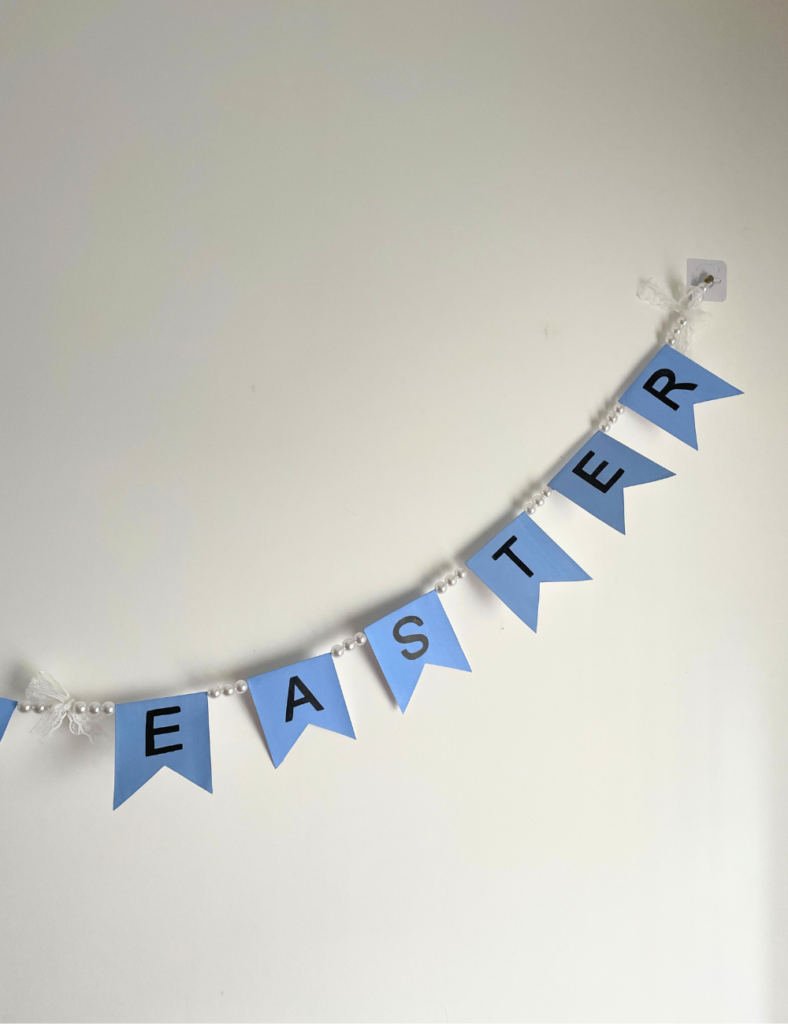
Now, you are going to take a long piece of wire string and tie a knot. I threaded 3 pearls, a lace ribbon bow, and 3 pearls at the beginning, between the words “Happy” and “Easter” and at the end of my garland.
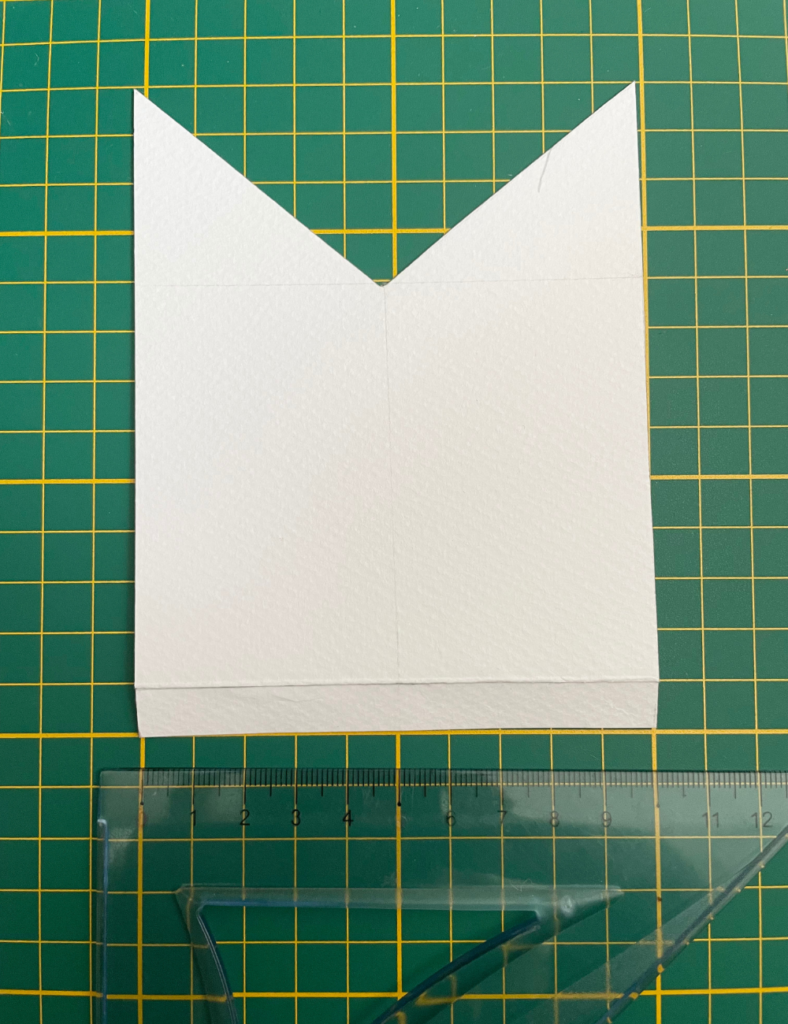
I also added 3 pearls between each banner. Do you remember the 0.39 inch you kept on each banner?
Well, to make sure that my banners would stay in place, I folded this 0.39 inch and added hot glue on it to tie my banners to my garland.
Once you’re done threading, tie another knot, at the end of your garland, to secure it.
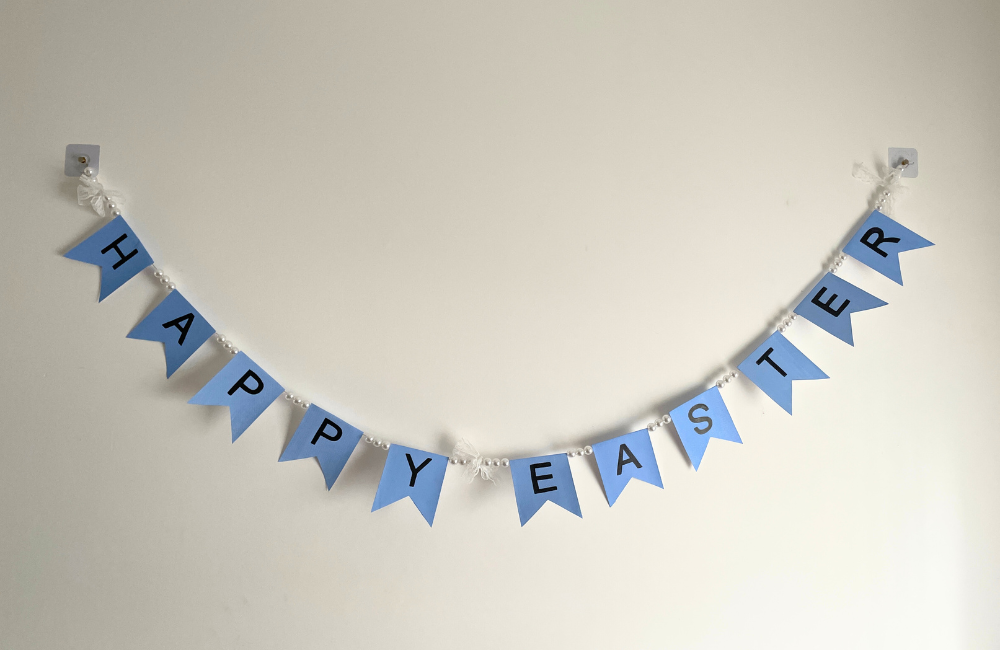
Now, let’s discover the final result!
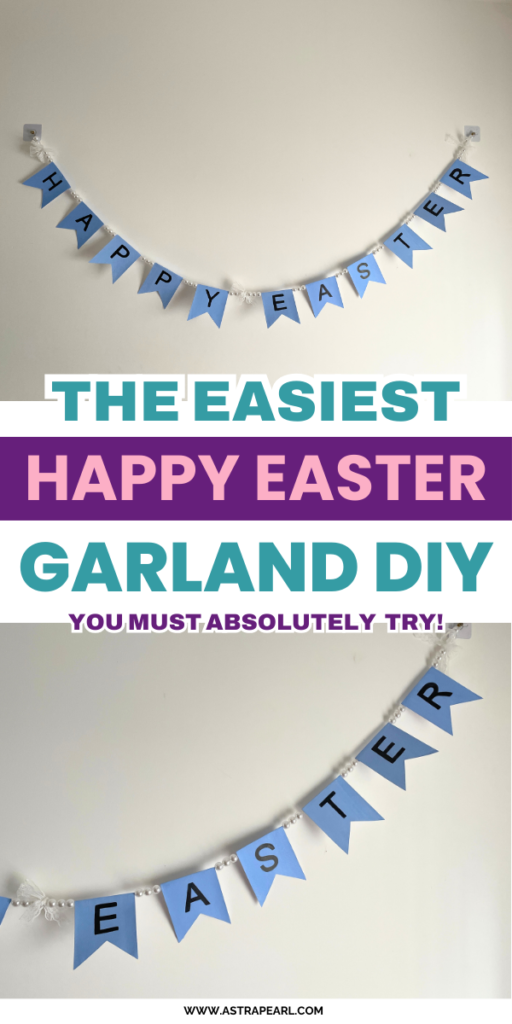
So, here’s how my Easter garland turned out:
I hope this easy and quick Easter DIY gave you inspiration to create your own decoration.
Remember that to create your own Happy Easter garland DIY, you must:
- Select a cohesive color palette: go for soft and pastel colors;
- create your banners;
- customize your garland according to your interior design style.
Stay tuned for more Easter inspiration!
Discover More Easter DIY Ideas
- Easter Bunny Garland DIY: A Crazy Simple Way To Refresh Your Home!
- The Easiest Spring Fabric Garland DIY – No Sewing Skills Needed!
- Make Your Own Easter Egg Garland Decoration – SO Easy and Quick!
- Late For Easter? This 10-Minute Easter Egg Garland DIY Will Save The Day!
- Make Your Own Crazy Simple Spring Bunny Garland!
- This 10-Minutes Easter Tiered Tray Decor Will Left You Speechless!
- Try This Surprisingly Easy Easter Tree DIY!
- Try This 10-Minute Easter Basket Decoration That Will Charm Your Guests!
- Make Your Own Crazy Simple Spring Decor DIY (And It’s SO Pretty!)