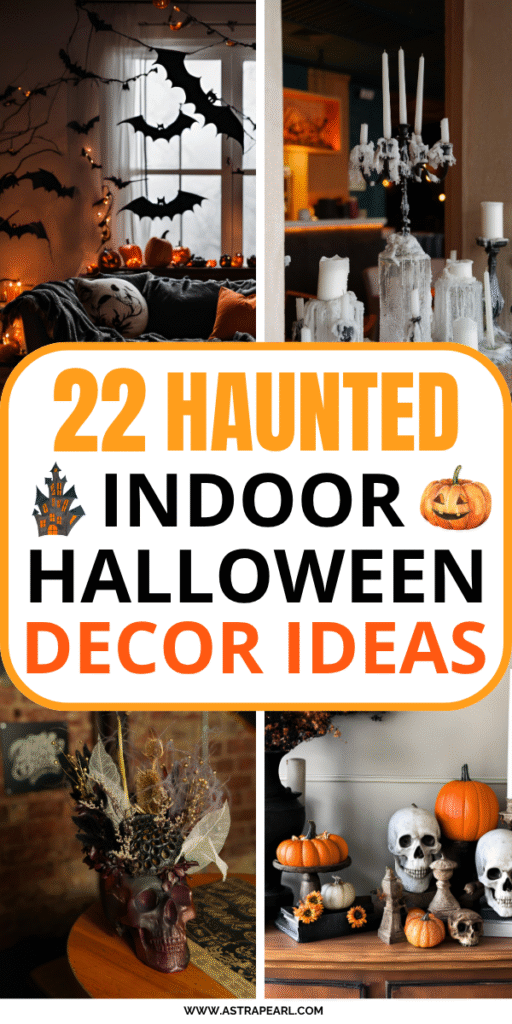
Discover in this post the best indoor Halloween decor ideas.
Do you want to create a festive atmosphere in your home? By decorating for Halloween, your home will become a spooky place that will bring excitement to your guests.
From painted pumpkins and bat garlands to spider webs and haunted mirrors, there are many indoor Halloween decorations DIY that you will be able to recreate.
With DIY, your house will feel more personal and soulful. By taking the time to create your own decorations, you will build a home that feels more like you.
And you will also be deeply proud of the decorations you made.
So if you want a spooky home full of charm, discover these 22 eerie indoor Halloween decor ideas to create your dream festive home.
This website contains affiliate links. This means that when you click on a product link and make a purchase within 24 hours, I earn a small commission at no extra cost for you. As an Amazon Associate, I earn commissions from your Amazon purchases when you click on my links. The money earned allows me to do what I love for a living. Thank you for your support!
Indoor Halloween decor ideas
Get inspired by these 22 amazing indoor Halloween decor ideas to infuse the spirit of Halloween into your home.
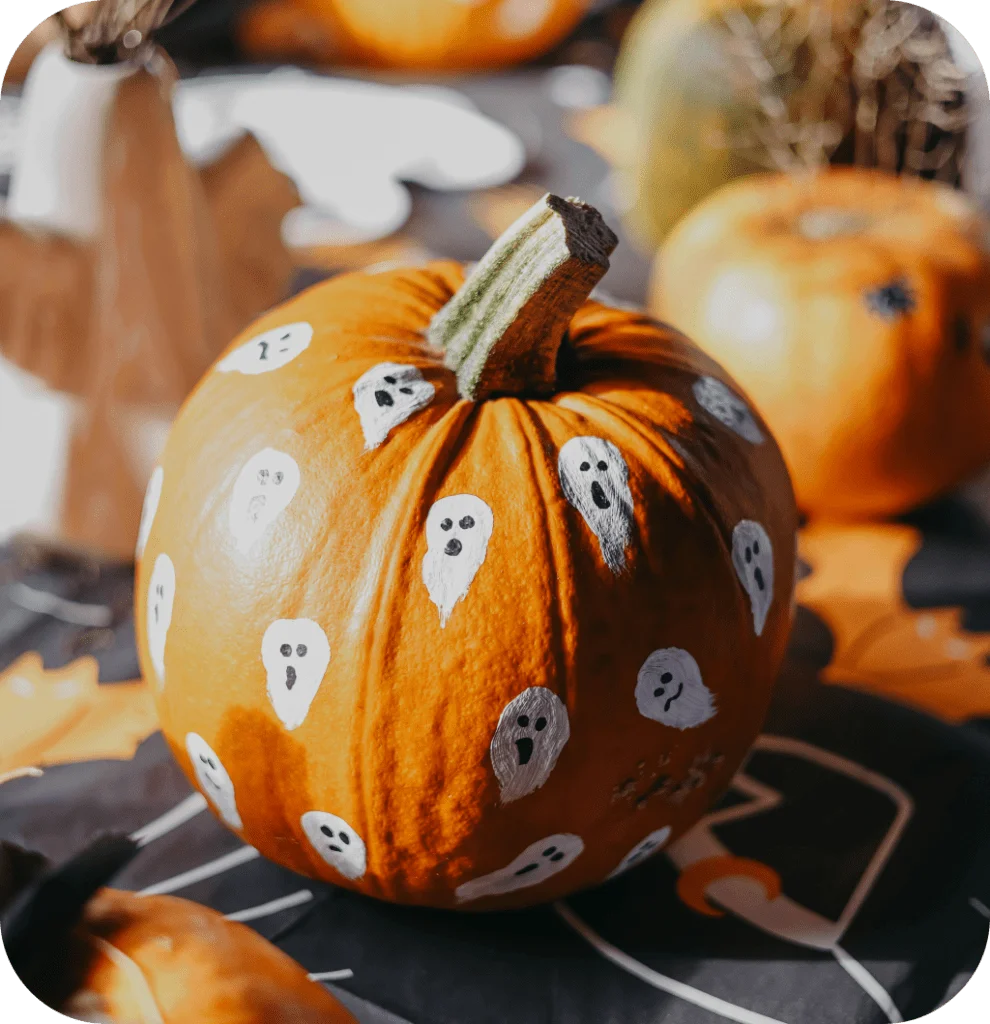
1 – Painted pumpkin
A timeless DIY for Halloween is to simply paint a pumpkin! To do it, you will need different materials.
Materials:
- Brushes;
- acrylic paint;
- an acrylic sealer.
Now, follow these three easy steps:
Step 1: Prepare your pumpkin
Lay down newspapers to protect your surface. Then, clean any dirt on your pumpkin with a cloth.
Step 2: Paint your pumpkin
You can paint your pumpkin like a candy corn or a buffalo plaid. You can also paint small ghosts, floral patterns, bats, spiders, skeletons, etc. Don’t hesitate to be creative by playing with colors and shapes!
Start by working on the first half of the pumpkin, and make sure that the paint is dry before you start working on the other half.
You can also decorate your pumpkins with decorative items such as ribbon bows or maple leaves.
Step 3: Finish with a sealer coat
To protect the paint on your pumpkin, you need to apply an acrylic sealer coat.
2 – Halloween tray
To make a Halloween tray, you will need different materials.
Materials:
- A 3 tiered tray;
- Halloween mugs;
- small pumpkins, spiders, or eyes;
- a skull;
- Halloween wood decor or signs;
- maple leaves;
- and spider web.
Now, follow these two easy steps:
Step 1: Choose your tray carefully
Are you going for a rustic look? Or perhaps you want an elegant vibe? Either way, you need to select a tray that will match the feel you are going for.
If you want a rustic look, pick a wooden tray. However, if you prefer an elegant style, select a white or metal tray.
Step 2: Now, let’s decorate!
Start by filling 2 to 3 Halloween mugs with small pumpkins, spiders, or eyes. Then, put them on your tray. Next, place a skull on your tray with several Halloween wooden cutouts or signs.
Now that all your Halloween decor is on your tray, fill the remaining space with maple leaves and put spider web on top of the tray.
3 – Mason jar candle holder
Materials:
- A mason jar;
- a LED candle;
- acorns and maple leaves.
Now, follow these three easy steps:
Step 1: Paint your jar
This step is optional. But if you are a creative person, you can pick your brushes and paint a spooky Halloween face on your mason jar! Don’t paint the background, so the filler will still be visible.
Use the same process as in “1 – Painted pumpkin”.
Step 2: Fill your jar
Select a mason jar and clean it up. Then, fill half of it with acorns and maple leaves. You could also fill it with small pumpkins, pine cones or even little spiders.
Step 3: Place your candle
Put your LED candle on top of your vase filler. You could also use a real candle, but it’s way more risky than using a LED candle.
So if you are using a real candle, make sure that it’s placed in a small glass recipient that will fit through your mason jar. You don’t want to burn your house, trust me.
4 – Wood slice pumpkin
More indoor Halloween decor ideas with this artistic indoor Halloween DIY!
This DIY is for artists and creatives who love to paint.
Materials:
- A wood slice;
- brushes;
- acrylic paint;
- an acrylic sealer.
Now, follow these two easy steps:
Step 1: Prepare your wooden slice
Lay down newspapers to protect your surface. Then, clean any dirt on your wooden slice.
Step 2: Paint your wooden slice
It’s where the fun begins! You can paint pumpkins, ghosts, fall patterns, bats, spiders, skeletons, etc. Don’t hesitate to be creative by playing with colors and shapes!
Step 3: Finish with a sealer coat
To protect the paint on your wooden slice, you need to apply an acrylic sealer coat.
5 – Bat garland
Materials:
- Black construction paper;
- and a string.
Now, follow these two easy steps:
Step 1: Cut bat shapes
Cut out bat shapes from the black construction paper. Then, poke a small hole in each bat.
Step 2: Put everything together
Take a string. I suggest using a cotton string for a more elegant result. Next, tie three knots to keep your garland secure and thread each bat through the string. Once you’re done, tie three knots at the end of your garland.
6 – Halloween wreath
Materials:
- A grapevine wreath;
- small pumpkins;
- fall stems;
- ghosts;
- and hot glue.
Now, follow these two easy steps:
Step 1: Select a wreath base
I suggest you pick a grapevine wreath. It’s the base that looks more natural and elegant. Plus, you will be able to easily glue decorative items on top of it.
Step 2: Make your wreath
Start by adding your fall stems to your grapevine base. Next, glue your small pumpkins and ghosts. And voilà! You have a beautiful Halloween wreath now.
7 – Spider web
Discover more indoor Halloween decor ideas with this eerie spider web!
Materials:
- Cotton batting;
- small plastic spiders.
Now, follow these two easy steps:
Step 1: Stretch your cotton batting
Stretch the cotton batting into thin layers and drape it over your furniture or Halloween tray.
Step 2: Place small plastic spiders
Next, put some plastic spiders on top of the cotton batting to complete this look!
8 – Potion bottle
Materials:
- An empty glass bottle;
- black acrylic paint;
- a label;
- and hot glue.
Now, follow these two easy steps:
Step 1: Paint your bottle
Lay down newspapers to protect your surface. Then, clean any dirt on your glass bottle. Now, you can paint it black.
Step 2: Finish this look with labels
Next, put a spooky label such as “Witch’s Brew” on your glass bottle. You can also use hot glue to add drips and create a vintage look.
9 – Gold leaf
Materials:
- Gold spray paint;
- and fall leaves.
If you love elegant decor, you need to paint your fall leaves gold! Simply spray gold paint on your fall leaves. You can also do it on pine cones, acorns, and even pumpkins.
These gold decorative items will look amazing in your indoor Halloween decor!
10 – Haunted mirror
Materials:
- A small antique gold mirror;
- and black spray paint.
Lay down newspapers to protect your surface. Then, cover your mirror with tape. We only want to spray paint the mirror’s border.
Next, spray black paint all over your mirror’s border. Before the paint dries, blot it with a paper towel to create a distressed effect.
11 – Skeleton
Materials:
- A skeleton;
- and accessories.
Place a skeleton in your living room and dress it up. You can disguise it as a witch, a scarecrow or even a clown!
12 – Witch’s broom parking
Materials:
- A wooden sign;
- black acrylic paint:
- white acrylic paint;
- and broomsticks.
Now, follow these two easy steps:
Step 1: Paint your wooden sign
Lay down newspapers to protect your surface. Then, paint the wooden sign black and let it dry. Next, use white paint to write “Witch’s broom parking” on the sign.
Step 2: Add the broomsticks
Now, place some broomsticks against the wall and hang the wooden sign above them.
13 – Tombstone
Materials:
- A foam board;
- gray acrylic paint;
- and a black marker.
Start by cutting the foam board into tombstone shapes. Then, you are going to paint them gray. Once you let them dry, use a black marker to add some details, such as epitaphs.
14 – Floating witch hats
Discover more indoor Halloween decor ideas for witches!
Materials:
- Witch hats;
- and nylon fishing line.
Thread your fishing line through the witch hats and hang them anywhere in your home. They would look great above your witch’s broom parking!
15 – Bloody candle holder
Materials:
- An empty wine bottle;
- black acrylic paint;
- a red taper candle;
- and red wax.
Now, follow these two easy steps:
Step 1: Paint your wine bottle
Lay down newspapers to protect your surface. Then, paint the wine bottle black and let it dry.
Step 2: Create a dripping wax effect
Next, pour red wax on top and inside your bottle to create a dripping effect. Lastly, put a red taper candle inside the bottle.
When you light the candle, it will melt and accentuate the dripping effect on your bottle.
16 – Glass cloche
Materials:
- A glass cloche;
- small pumpkins;
- small plastic spiders;
- small ghosts;
- and maple leaves.
Fill your glass cloche with small pumpkins, plastic spiders, ghost figurines and maple leaves to create a spooky decoration!
17 – Halloween accessories
To complete your indoor Halloween decor, you can buy some Halloween accessories.
A) Entryway
To create an eerie entryway, I suggest decorating your console table.
You can place on your console table:
- Halloween figurines such as witches, cats or ghosts;
- Halloween signs such as “Trick or Treat” or “Welcome to our Nightmare”;
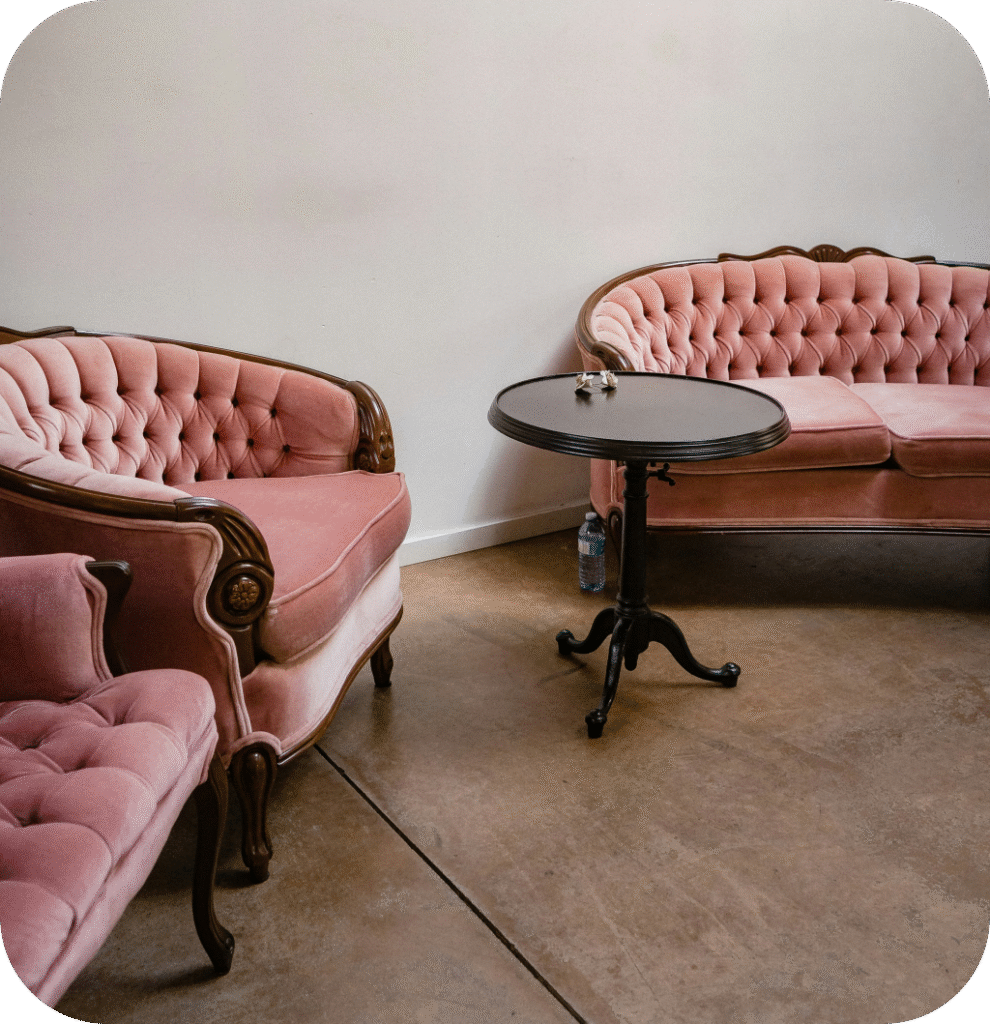
B) Living Room
To create a spooky living room, decorate your sofa and mantel.
You can put:
- Throw pillows with pumpkins, ghosts or skeletons;
- orange or black blankets with spiders or pumpkins.
C) Dining Room
To create a haunted dining room, invest in some table accessories.
You can place:
- A spider web table runner;
- Halloween themed plates, napkins and glassware.
D) Kitchen
To create a scary kitchen, you can use:
- Halloween utensils and kitchen towels with pumpkins or ghosts.
E) Bedroom
To make your bedroom more spooky, you can place:
- Halloween sheets and pillowcases with black cats or skulls;
- maple leaf or pumpkin string lights around your bed frame.
F) Bathroom
Even your bathroom can become haunted for Halloween, you can put:
- Shower curtains;
- soap dispensers;
- towels;
- and rugs with pumpkins, ghosts or black cats.
Conclusion
With these 22 spooky indoor Halloween decor ideas, you will now be able to create a festive and eerie home to scare your friends and family!
I strongly suggest you create some Halloween DIY to make your home feel more personal and soulful. Remember to pair these DIYs with some Halloween accessories to create a haunted house.
- 20 Elegant Fall Tray Decor Ideas For A Cozy Home
- 20 Festive Halloween Decor Ideas To Bring Joy Into Your Home
- 21 Amazing Fall Door Decor Ideas For A Welcoming Home
- 19 Stunning Small Porch Fall Decorating Ideas That You Will Love
- 18 Splendid Kitchen Fall Decor Ideas To Create A Festive Home
- 20 Spooky Halloween Porch Decor Ideas To Impress Your Guests
- 18 Amazing Fall Garland Ideas To Transform Your Home
- 17 Stunning Fall Decorating Ideas For Living Room